Patchwork presque traditionnel
I quite dont know how to call this bloc. I think that it is call “roman stripes” or maybe “cut out study on a 45 degree”Tissus :
Pour ce bloc il vous faut 4 tissus de couleurs différentes
+ votre tissu de fond
For this bloc, you will need 4 different colour fabrics plus your background fabric.
(A) Découpe : (Cut out)
Coupez dans chacune des 4 couleurs une bande de 1"5/8
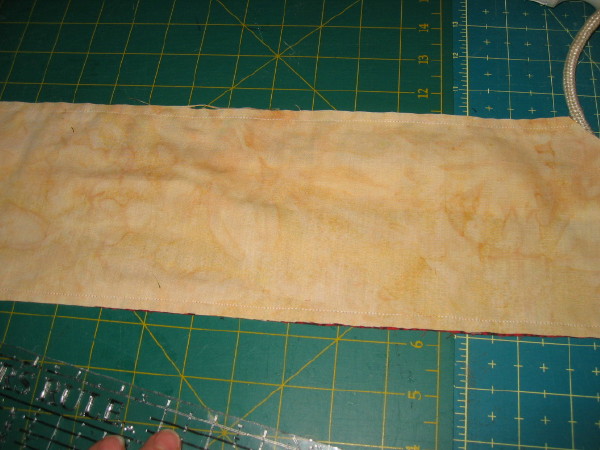
Coupez dans votre tissu de fond une bande de 5" de large
Cut in each of the 4 colours one stripe of 1’’ 5/8 wide.
Cut in your background fabric one stripe of 5’’ wide.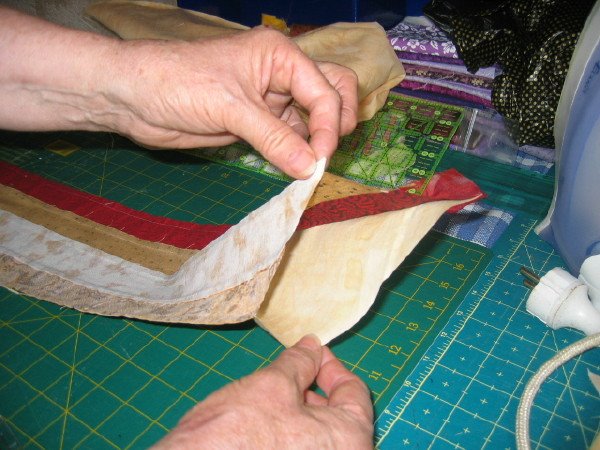
(B) Assemblage des bandes : (join the stripes)
Coudre vos 4 bandes les unes aux autres et les repasser en couchant les coutures côté foncé.
Saw your 4 stripes next to each other, iron them and fold the seams on the darker side.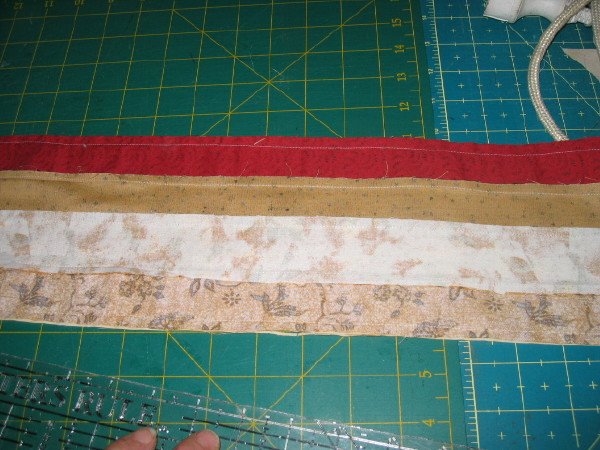
(C) Assemblage des deux bandes : ( join the 2 stipes)
Après avoir repassé vos deux bandes, ( celle avec les 4 bandes et celle coupée dans votre tissu de fond ) , posez la bande tissu de fond sur la bande formée de vos 4 couleurs "endroit contre endroit " et piquez les sur toute la longueur en haut et en bas, vous obtenez un tube . Repassez soigneusement.
After you have iron both stipe, (the one with the 4 little stipes and the one you have cut in the background colour) put the one stipe on the top of the other one (right sides facing each other) and sew them all the way on the top and on the bottom, you have now a long tube. Iron carefully
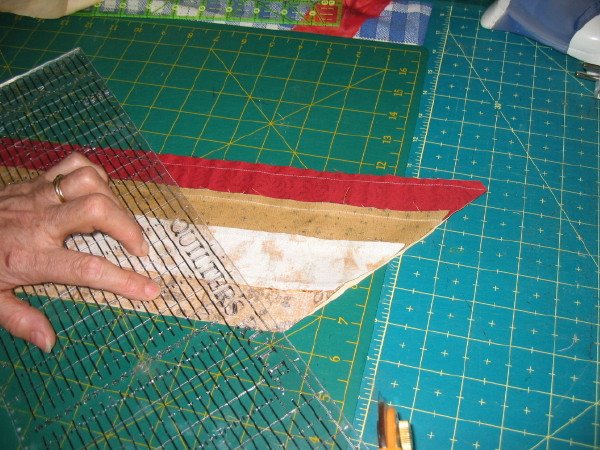
D- Coupes à 45 degrés : (cut out at 45 degree)
Pour cette dernière partie n'hésitez pas à aller voir le film et les schémas.
Pour la 1re coupe : Placez le trait des 45° de votre règle à gauche et en haut, bien aligner sur la couture d'assemblage du tube. Faites en sorte que votre règle arrive à un cm du bas de ladite bande et coupez à droite au bord de la règle.
Pour la 2e coupe : Votre règle ayant les 45 ° de chaque coté, tournez-la et ajustez-la sur une couture bien au ras de la pointe du triangle. Il n'y a rien à mesurer puisque vos deux bandes réunies par les deux piqûres font bien la taille voulue.
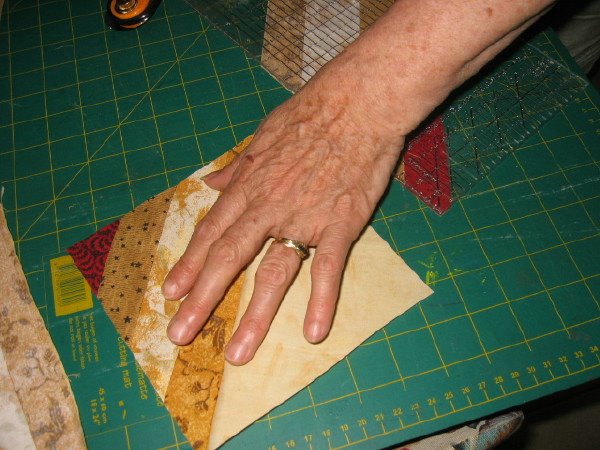
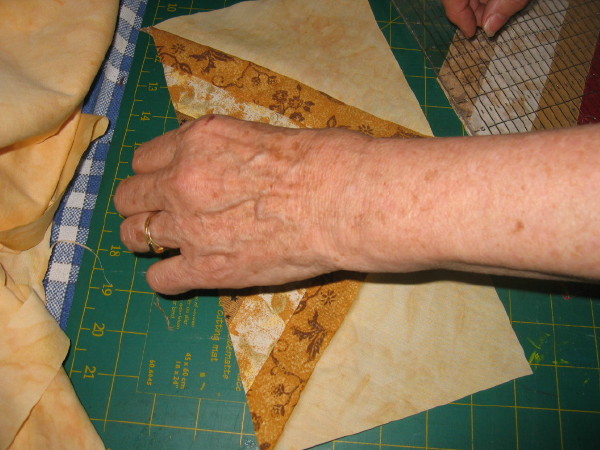
Attention, il faut toujours repartir de la même façon, sinon vous n'aurez pas le même motif. En fait, il y a un morceau que l'on perd chaque fois. Vous pourrez les utiliser pour un autre bloc ou pour les angles de votre top.
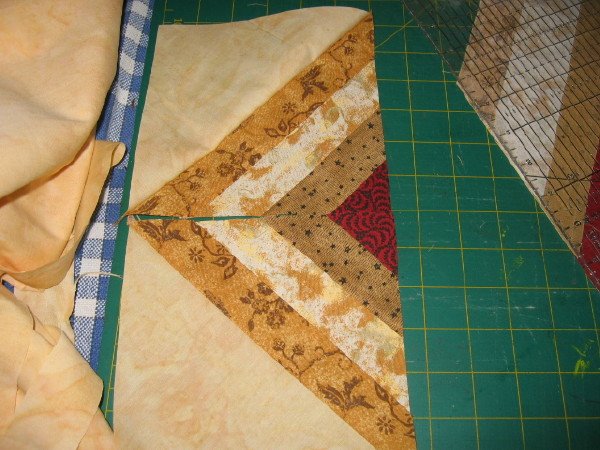
Vos 4 triangles dépliés donnent 4 carrés identiques !!!
For this last bit, dont hesitate to have a look at the video and the diagram.
For the 1st cut : put the mark of the 45 degree from your ruler on the top right, align carefully with the seam of the tube. Make sure that your ruler is at 1 cm from the bottom of the stripe and cut on the right side of the ruler.
For the 2nd cut : since your ruler has the 45 degree angle on both side, turn it around and position it on the seam right at the point of the triangle. You don’t have to mesure anything because both of your stripes are stich togerther.
Be carefull : you always have to start from the same direction, otherwise you will not have the same motive, you will have some left over every time. But you can use them for an other bloc or for different angles for a different look.
You have now 4 triangles, and when you unfold them you have 4 identical squares.